2.19 Starting the server installation
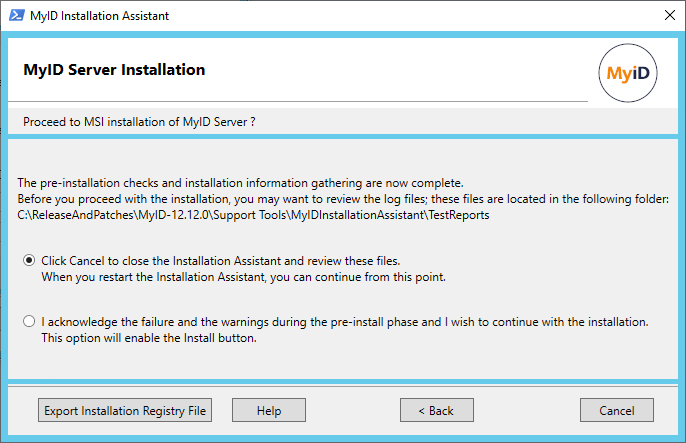
The MyID Server Installation screen provides you with a decision point. You have now provided all of the information needed to install the MyID server software, and have carried out all the initial server checks and pre-install checks.
If you want to save your configuration to automate running the MyID Installation Assistant, click Export Installation Registry File. See section 2.29, Automating an installation for details.
If you want to review your status before proceeding, you can click Cancel to close the MyID Installation Assistant. When you restart the MyID Installation Assistant, it returns you to this stage so you can proceed.
To assist you in making the decision whether to proceed with the installation, the MyID Installation Assistant creates a folder of logs and reports based on the checks it has carried out; see section 2.28, Checking the logs and reports for details.
If you want to proceed with the installation, click the option to enable the Install button. If there were any failures or warnings that occurred during the initial server checks or the pre-installation checks, these are mentioned.
Click Install to start the MyID installation.
Note: There may be a significant pause between the installer window closing after completing the installation and the log results window appearing in the MyID Installation Assistant; this is expected.